return (
<View style={styles.container}>
<TouchableOpacity onPress={handleMenuToggle} style={styles.iconContainer}>
<AntDesign name={showMenu ? 'menu-fold' : 'menu-unfold'} size={24} color="black" />
</TouchableOpacity>
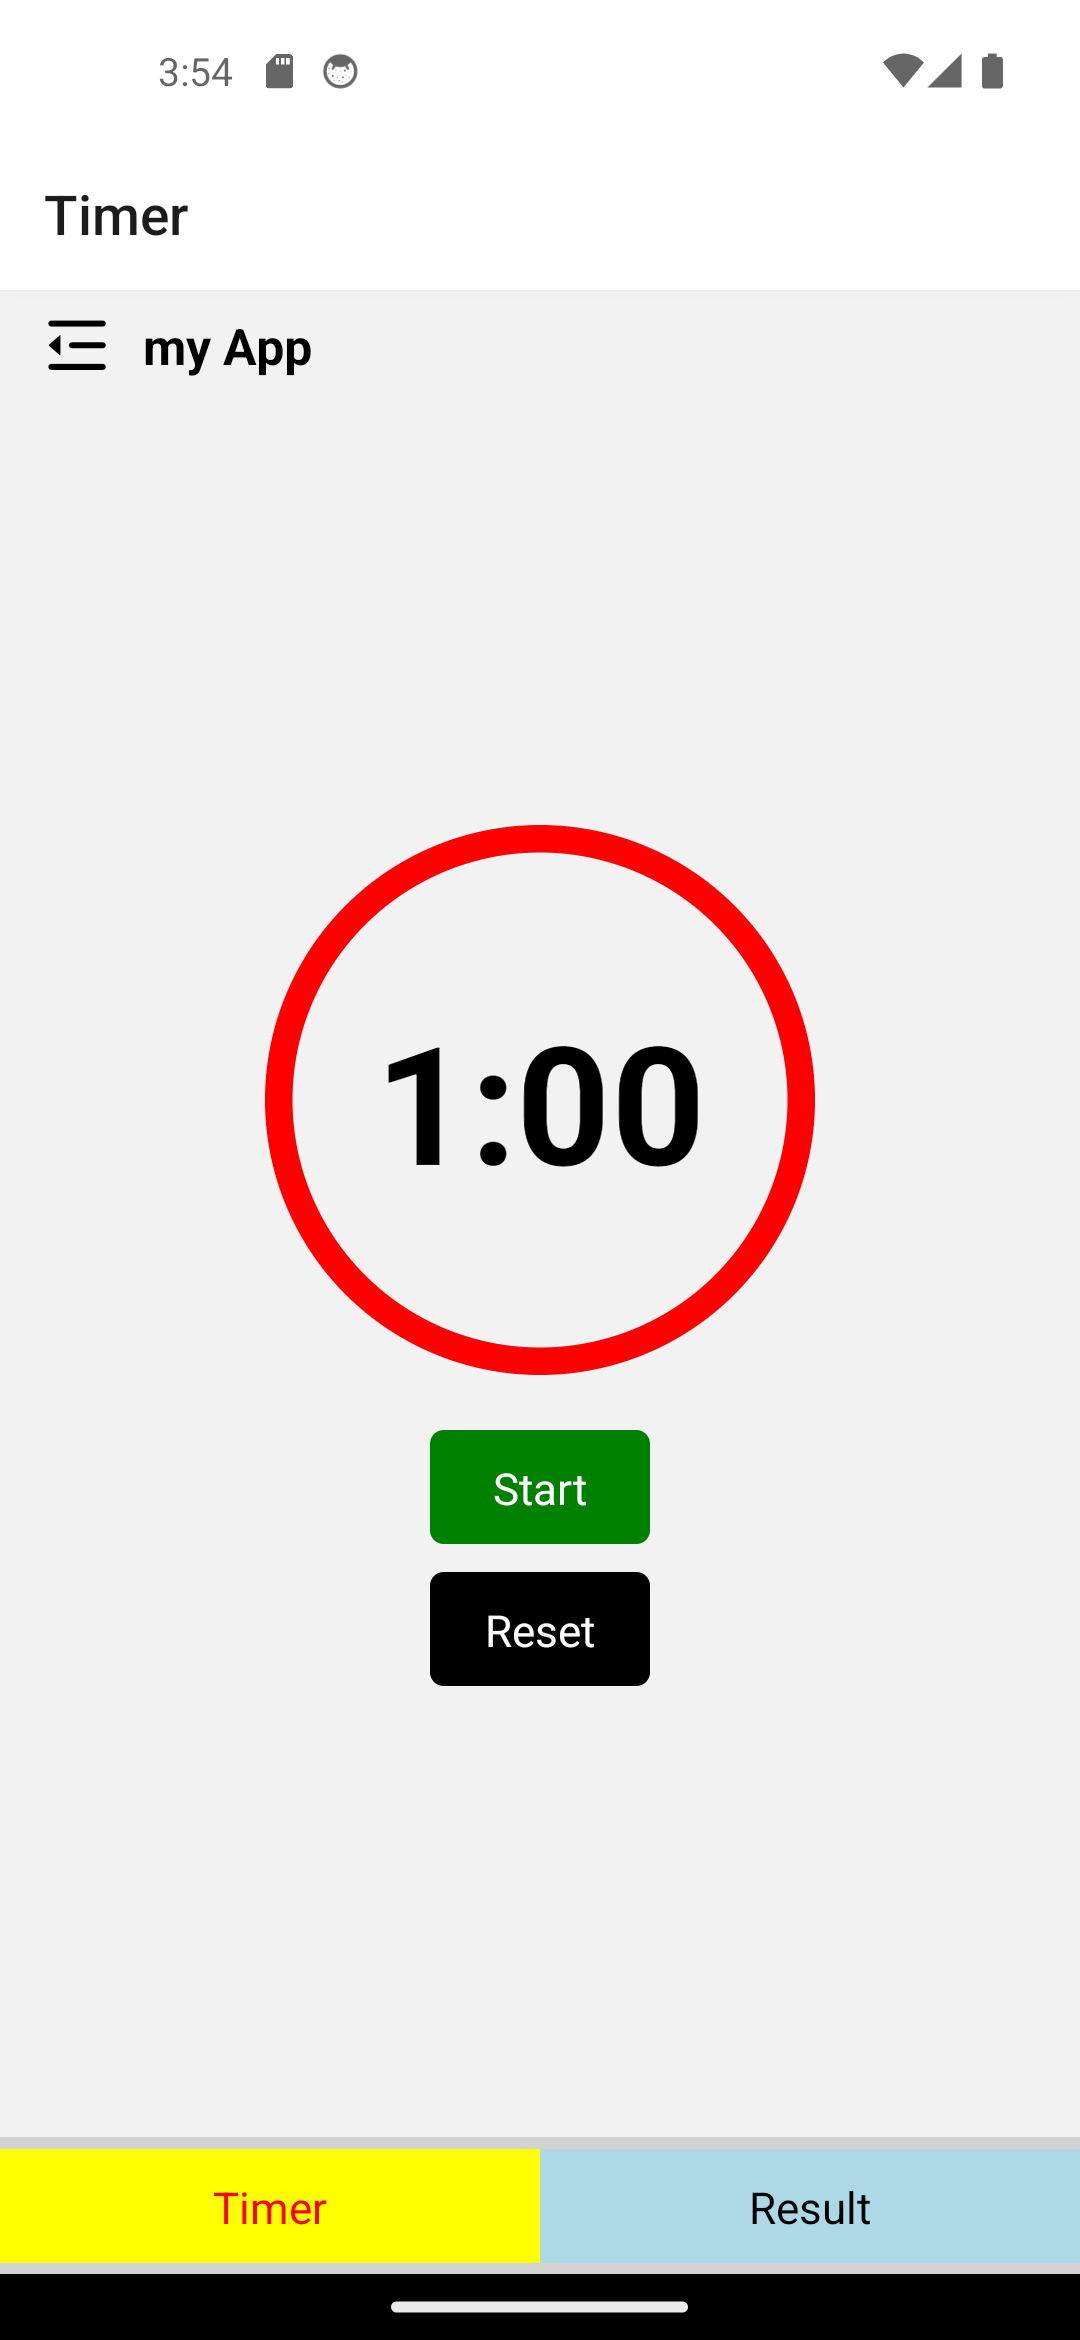
<Text style={styles.appTitle}>my App</Text>
<Modal
visible={showMenu}
transparent
animationType="fade"
onRequestClose={handleMenuClose}
>
<TouchableWithoutFeedback onPress={handleMenuClose}>
<View style={styles.modalBackground}>
<View style={styles.menuItemsContainer}>
<TouchableHighlight
onPress={() => {
console.log('Profile clicked');
handleMenuClose();
}}
>
<Text style={styles.menuItem}>Profile</Text>
</TouchableHighlight>
<TouchableHighlight
onPress={() => {
console.log('Settings clicked');
handleMenuClose();
}}
>
<Text style={styles.menuItem}>Settings</Text>
</TouchableHighlight>
<Text style={styles.creditText}>Made by: FookIT</Text>
</View>
</View>
</TouchableWithoutFeedback>
</Modal>
</View>
);
};
ในส่วนต่อมาเราจะทำการ Return ผลลัพธ์สำหรับแสดงบน Appbar โดยเราจะตั้งชื่อว่า “my App”
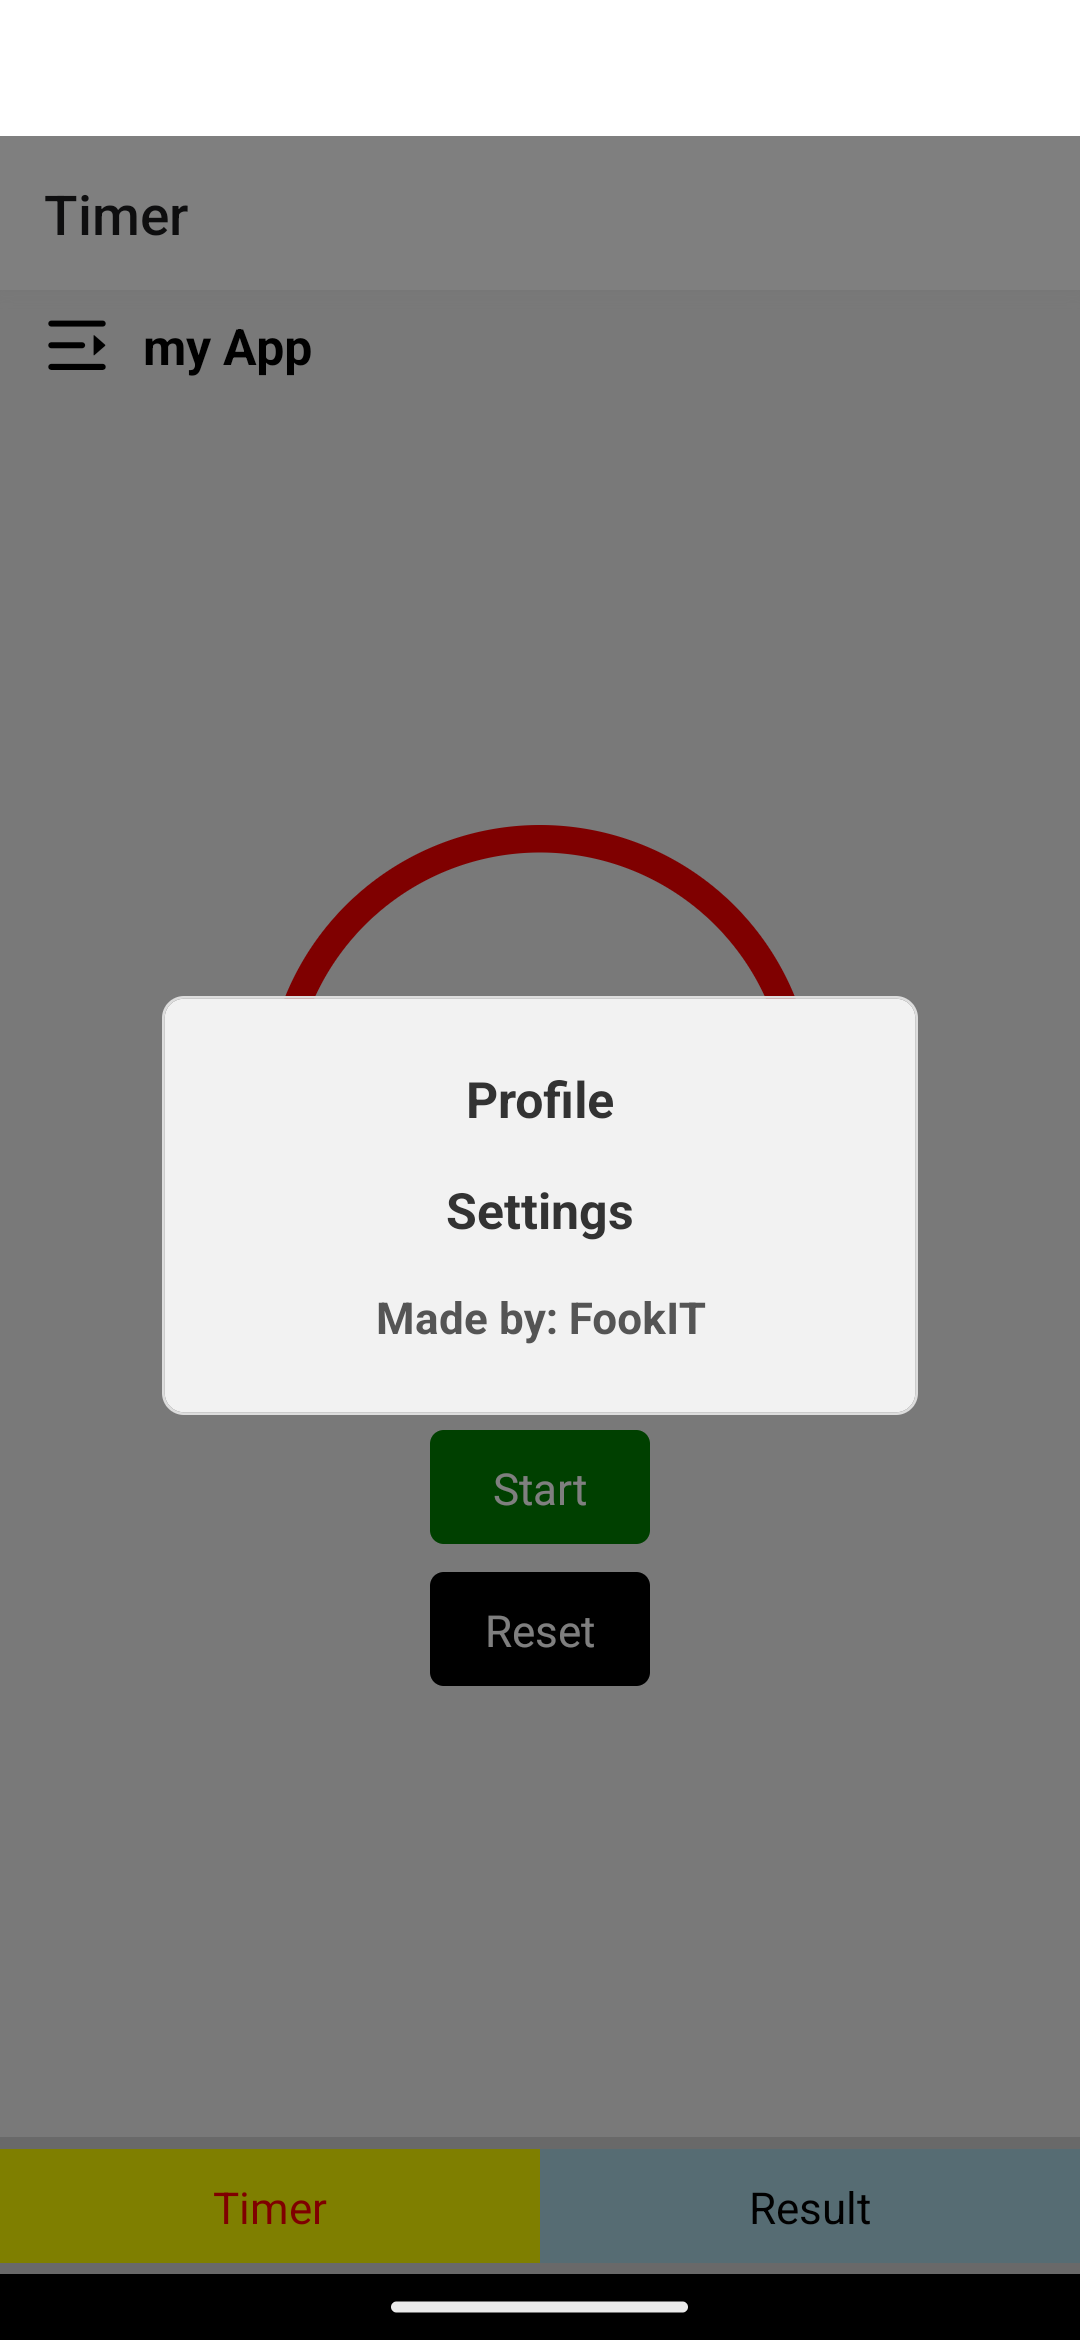
และตั้งไว้ให้ซ่อน Menu โดยถ้ามีการกดก็จะให้แสดงเมนูขึ้นมา
สร้างช่องเปล่าสำหรับทดสอบที่มีชื่อว่า Profile กับ Setting โดยใช้ Console.log เพื่อตรวจสอบว่าสามารถกดได้จริงไหม
ปิดท้ายด้วย Credit ผู้สร้าง และส่วนต่อมาจะเป็น Styles ที่ใช้ตกแต่ง
const styles = StyleSheet.create({
  container: {
    flexDirection: 'row',
    alignItems: 'center',
    backgroundColor: '#f2f2f2',
    paddingVertical: 8,
    paddingHorizontal: 16,
  },
  iconContainer: {
    marginRight: 12,
  },
  appTitle: {
    flex: 1,
    fontSize: 18,
    fontWeight: 'bold',
  },
  modalBackground: {
    flex: 1,
    backgroundColor: 'rgba(0, 0, 0, 0.5)',
    justifyContent: 'center',
    alignItems: 'center',
  },
  menuItemsContainer: {
    backgroundColor: '#f2f2f2',
    borderRadius: 8,
    borderWidth: 1,
    borderColor: '#ddd',
    padding: 16,
    width: '70%', // Set the width of the menu
  },
  menuItem: {
    paddingVertical: 8,
    fontSize: 18,
    fontWeight: 'bold',
    textAlign: 'center', // Center the text horizontally
    color: '#333',
  },
  creditText: {
    paddingVertical: 8,
    fontSize: 16,
    fontWeight: 'bold',
    textAlign: 'center',
    color: '#555',
  },
});
โดยในส่วนนี้ก็จะมี Styles กำกับใน Component แต่ละส่วนสำหรับใครที่อยากจะตกแต่งแบบไหนก็ตามสะดวกได้เลยนะครับ
โค้ด AppBar.js ทั้งหมดก็มีหน้าตาแบบนี้เมื่อเขียนเสร็จ


 เขียนโดย